
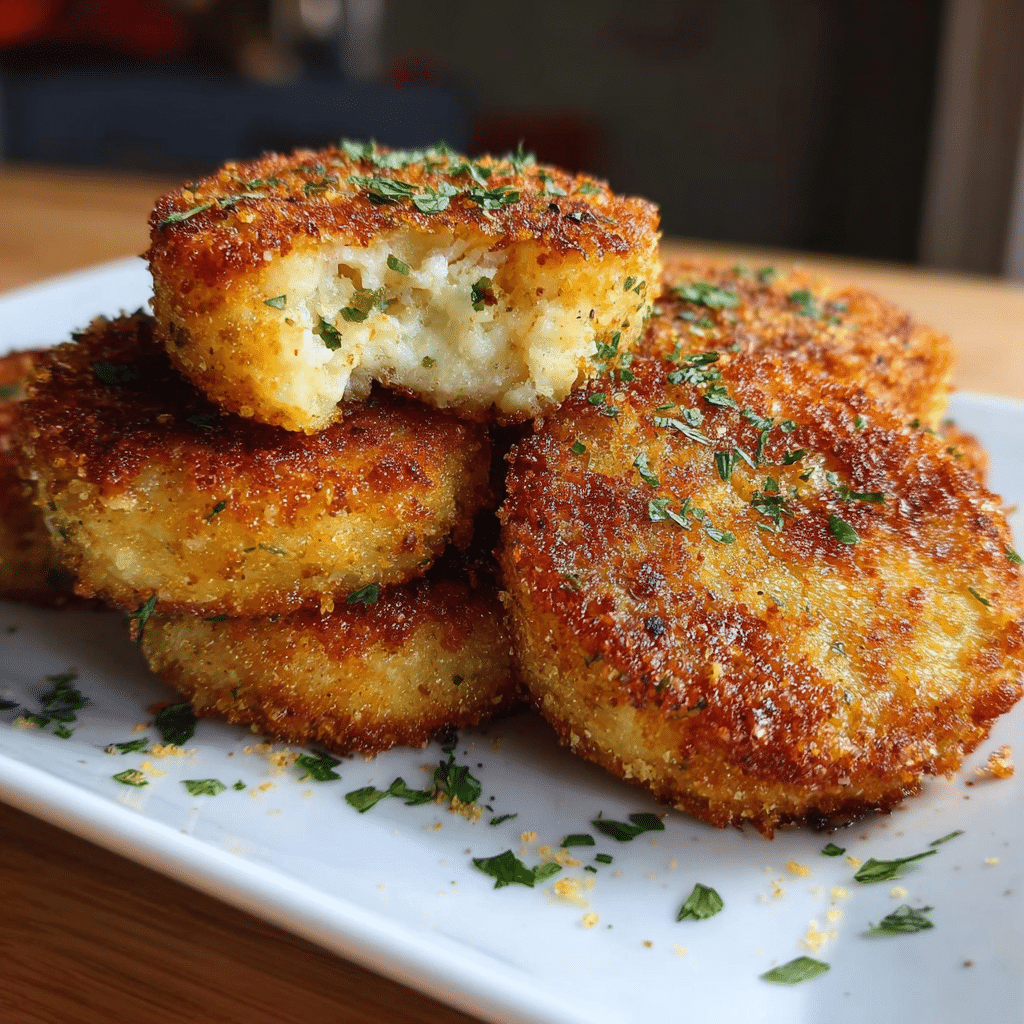
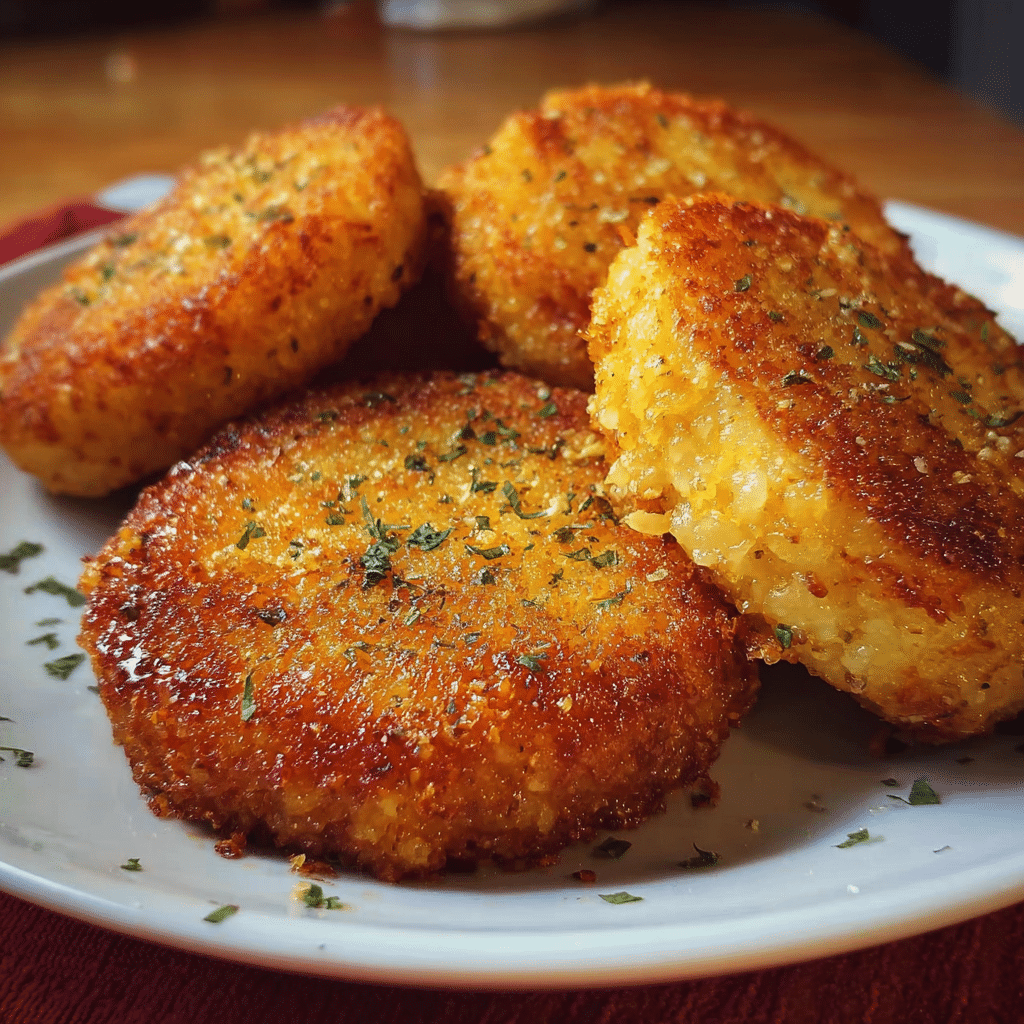
Cheesy fried grit cakes might just be the Southern comfort food secret that’s been hiding in plain sight. Are you tired of soggy, bland attempts at this beloved dish that fall apart in the pan or lack that perfect golden crunch? I’m Emeli, and through my culinary journey from professional kitchens to exploring street food around the world, I’ve discovered that the magic of cheesy fried grit cakes lies not just in the creamy, cheese-laden interior, but in mastering the art of that impossibly crispy exterior.
During my travels through the American South, I watched countless home cooks and restaurant chefs perfect this dish, and I realized that most people skip the crucial steps that transform ordinary grits into golden, crispy perfection. After years of testing and refining, I’ve cracked the code to achieving that restaurant-quality crunch with a molten, cheesy center that will make your taste buds sing.
In this comprehensive guide, I’ll share my 7 secrets for creating cheesy fried grit cakes that deliver ultimate crispy perfection every time. We’ll cover everything from selecting the right grits and achieving the perfect consistency, to the coating techniques that ensure maximum crunch, plus troubleshooting tips when things go wrong.
Why This Cheesy Fried Grit Cakes Recipe Works
This recipe transforms humble grits into a show-stopping side dish or appetizer that bridges the gap between comfort food and restaurant elegance. Here’s what makes it so special:
• Uses affordable, pantry-friendly ingredients – Stone-ground grits, cheese, and basic coating ingredients create an impressive dish without breaking the budget
• Make-ahead friendly for busy schedules – Prepare the grit base up to 2 days in advance, then coat and fry when ready to serve
• Perfect for any occasion – Whether it’s a weeknight dinner or weekend entertaining, these cakes elevate any meal
• Foolproof technique once you know the secrets – My step-by-step method eliminates guesswork and guarantees crispy results
Choosing the Right Grits for Cheesy Fried Grit Cakes
The foundation of exceptional cheesy fried grit cakes starts with selecting quality grits that will hold their shape and deliver the best texture.
Best Grits for This Recipe
Stone-ground grits are your golden ticket to success. Unlike instant varieties, stone-ground grits retain their corn flavor and provide the sturdy structure needed for frying. Look for medium-grind grits, which offer the perfect balance between creamy texture and structural integrity. Brands like Anson Mills or Bob’s Red Mill deliver consistent results that won’t crumble during the frying process.
Buying Tips
When shopping for grits, examine the package date and choose the freshest option available. Quality grits should have a slightly sweet corn aroma and uniform color. Avoid any packages with signs of moisture or pest damage. If possible, buy from stores with high turnover to ensure maximum freshness, as older grits can develop off-flavors that will affect your final dish.
Substitutions
If stone-ground grits aren’t available, polenta makes an excellent substitute with similar results. Avoid instant grits entirely, as they lack the binding properties needed for successful frying. In a pinch, you can use quick-cooking grits, but expect a slightly softer texture and increase the chilling time to ensure proper firmness.
Ingredients & Prep for Cheesy Fried Grit Cakes
Getting your ingredients and preparation right sets the stage for crispy perfection.
Grit Prep Essentials
Cook your grits with a combination of water and chicken broth for enhanced flavor depth. The key is achieving a thick, creamy consistency that will hold together when chilled. Stir in butter and your choice of cheese while the grits are still hot, allowing the residual heat to melt everything into silky smoothness. A hint of garlic powder adds complexity without overwhelming the corn flavor.
Flavor Additions
Sharp cheddar provides the classic tang, but don’t be afraid to experiment with gruyere for nuttiness or pepper jack for heat. The butter content is crucial for both flavor and binding, so don’t skimp. Salt should be added gradually, tasting as you go, since different cheeses contribute varying levels of saltiness.
Pantry Staples
Your coating station requires three components: all-purpose flour seasoned with salt and pepper, beaten eggs thinned with a splash of milk, and fine breadcrumbs for the crispiest exterior. Choose vegetable or avocado oil for frying, as these oils handle high temperatures without imparting unwanted flavors.
Step-by-Step Cooking Instructions for Cheesy Fried Grit Cakes
Master these techniques to achieve consistent, restaurant-quality results every time.
Pre-Cooking Prep for Cheesy Fried Grit Cakes
Cook your grits until they’re thick enough to coat the back of a spoon heavily. This usually takes 20-25 minutes of gentle simmering with frequent stirring. Once you’ve incorporated the cheese and seasonings, spread the mixture into a lined 8×8 dish, smoothing the surface with an offset spatula. Cover with plastic wrap pressed directly onto the surface to prevent a skin from forming, then refrigerate for at least 2 hours, though overnight is even better.
Cooking Method for Cheesy Fried Grit Cakes
Remove the chilled grit block from the refrigerator and cut into your desired shapes using a sharp, wet knife. Set up your breading station in order: seasoned flour, egg wash, and breadcrumbs. Heat oil to exactly 350°F in a heavy-bottomed pan or deep fryer. Dredge each piece thoroughly in flour, dip in egg wash, and coat completely with breadcrumbs, pressing gently to ensure adhesion. Fry in batches to avoid overcrowding, turning once when the first side is golden brown.
Doneness Check for Cheesy Fried Grit Cakes
Perfect cheesy fried grit cakes have a deep golden-brown exterior that sounds hollow when tapped gently. The interior should be heated through and melty, which typically takes 3-4 minutes per side. If you’re unsure, sacrifice one cake to check the center temperature it should be steaming hot throughout.
Resting for Cheesy Fried Grit Cakes
Transfer finished cakes to a paper towel-lined plate to drain excess oil. Let them rest for 2-3 minutes to allow the interior to settle while maintaining the crispy exterior. Serve immediately for the best textural contrast between the crunchy coating and creamy center.
Pro Tips for Perfect Cheesy Fried Grit Cakes
These insider secrets will elevate your grit cakes from good to extraordinary.
Avoiding Soggy or Falling-Apart Cakes
Temperature control is everything. Oil that’s too cool will result in greasy, soggy cakes, while oil that’s too hot will burn the exterior before the interior heats through. Use a candy thermometer and adjust heat as needed. Never skip the chilling step insufficiently chilled grits will fall apart during breading and frying.
Tool Recommendations
A candy thermometer ensures perfect oil temperature every time. Use a spider strainer or slotted spoon for safe, easy removal from hot oil. An offset spatula helps create smooth, even grit surfaces, while a sharp knife makes clean cuts without dragging.
Storage & Reheating
Cooked grit cakes can be stored in the refrigerator for up to 3 days. Reheat in a 375°F oven for 8-10 minutes to restore crispiness. For longer storage, freeze unbattered grit blocks wrapped tightly for up to 3 months, then thaw before breading and frying.
Flavor Variations for Cheesy Fried Grit Cakes
Customize your grit cakes to match any meal or preference.
Spicy Twist
Add diced jalapeños or a pinch of cayenne pepper to the base mixture. Chipotle powder provides smoky heat, while hot sauce mixed into the grits creates consistent spicing throughout each bite.
Keto and Low-Carb Options
Replace breadcrumbs with finely ground pork rinds or almond flour for a keto-friendly coating. The flavor remains delicious while significantly reducing carbohydrate content.
Global Flavors
Experiment with different cheese combinations and seasonings to create international variations. Here’s a comparison of popular flavor profiles:
| Variation | Cheese | Seasoning | Inspiration |
|---|---|---|---|
| Mediterranean | Feta + Parmesan | Dried oregano, lemon zest | Greek cuisine |
| Mexican Street | Queso fresco | Chili powder, lime zest | Elote flavors |
| Italian Herb | Mozzarella + Romano | Basil, garlic, black pepper | Classic Italian |
| Smoky BBQ | Sharp cheddar | Smoked paprika, onion powder | American BBQ |
| Asian Fusion | White cheddar | Five-spice, green onions | East meets South |
Serving Suggestions for Cheesy Fried Grit Cakes
These versatile cakes pair beautifully with both casual and elegant presentations.
Serve alongside slow-cooked meats like braised short ribs or pulled pork, where the rich, crispy cakes provide textural contrast. For lighter fare, pair with sautéed greens like collards or kale. The cakes also shine as appetizers with a dollop of sour cream and chives or a drizzle of hot honey.
Wine pairings depend on your preparation style a crisp Sauvignon Blanc complements herb-infused versions, while a medium-bodied Chardonnay matches the richness of cheese-heavy varieties. Beer lovers should reach for wheat beers or light lagers that won’t compete with the corn flavors.
FAQs About Cheesy Fried Grit Cakes
Can I make these ahead of time?
Absolutely! Prepare the grit base up to 2 days in advance and keep chilled. For best results, bread and fry just before serving, though you can bread them up to 4 hours ahead if needed.
What if my grits won’t hold together?
This usually indicates insufficient cooking time or inadequate chilling. Make sure your grits are thick enough to heavily coat a spoon, and always chill for at least 2 hours. Adding an extra egg to the mixture can help binding if needed.
Can I bake these instead of frying?
Yes, though the texture will differ. Brush breaded cakes with oil and bake at 425°F for 15-20 minutes, flipping once, until golden and heated through.
How do I prevent oil splattering?
Use a deep, heavy pot and don’t overcrowd the pan. Pat grit cakes dry before breading, and lower them into oil gently using a slotted spoon. A splatter screen provides additional protection.
Are these safe for people with dietary restrictions?
The basic recipe contains gluten (flour and breadcrumbs) and dairy (cheese and butter). For gluten-free versions, substitute with rice flour and gluten-free breadcrumbs. Dairy-free cheese alternatives work, though texture may vary slightly.
Conclusion
Mastering cheesy fried grit cakes transforms a simple Southern staple into a show-stopping dish that brings comfort and elegance to any table. With these 7 secrets in your culinary toolkit from choosing the right grits to achieving perfect oil temperature you’re equipped to create consistently crispy, golden perfection every time.
The beauty of this recipe lies not just in its delicious results, but in its versatility and make-ahead convenience. Whether you’re planning a casual family dinner or an impressive dinner party, these grit cakes deliver that irresistible combination of crispy exterior and molten, cheesy interior that keeps everyone coming back for more.
Fire up your stove and give this recipe a try tonight! Join the thousands of home cooks who’ve discovered that the secret to extraordinary comfort food lies in mastering these simple but crucial techniques. Your taste buds and your dinner guests will thank you.
If you enjoyed this recipe, be sure to share it with your friends or save it for later! I’d love to see your unique twist feel free to post your photos on Pinterest!
Print
Cheesy Fried Grit Cakes: 7 Secrets for Ultimate Crispy Perfection
- Total Time: 35 minutes + chill time
- Yield: 12 grit cakes 1x
- Diet: Vegetarian
Description
Crispy, golden Cheesy Fried Grit Cakes with gooey cheese inside and a crunchy coating outside. Perfect for breakfast, brunch, or dinner sides.
Ingredients
2 cups stone-ground grits
4 cups water or broth
1 cup sharp cheddar cheese, shredded
2 tbsp butter
1/2 tsp garlic powder
1/2 cup all-purpose flour
2 eggs, beaten
1 cup breadcrumbs
Oil for frying
Salt and pepper to taste
Instructions
1. Cook grits with water or broth until thick and creamy.
2. Stir in butter, cheese, garlic powder, salt, and pepper.
3. Spread mixture into a lined pan and refrigerate until firm (at least 2 hours).
4. Cut grits into squares, rounds, or triangles.
5. Dredge in flour, dip in egg wash, and coat with breadcrumbs.
6. Heat oil in skillet to 350°F.
7. Fry grit cakes until golden and crispy on both sides.
8. Drain on paper towels and serve warm.
Notes
Make ahead: Chill grit mixture overnight for firmer cakes.
Reheat: Use an oven or air fryer to maintain crispiness.
Variations: Add jalapeños for spice or parmesan for Italian flair.
- Prep Time: 15 minutes
- Cook Time: 20 minutes
- Category: Side Dish
- Method: Frying
- Cuisine: Southern
Nutrition
- Serving Size: 1 grit cake
- Calories: 150
- Sugar: 1g
- Sodium: 180mg
- Fat: 8g
- Saturated Fat: 3g
- Unsaturated Fat: 4g
- Trans Fat: 0g
- Carbohydrates: 15g
- Fiber: 1g
- Protein: 6g
- Cholesterol: 40mg
Keywords: Cheesy Fried Grit Cakes, Southern comfort food, crispy grit cakes