
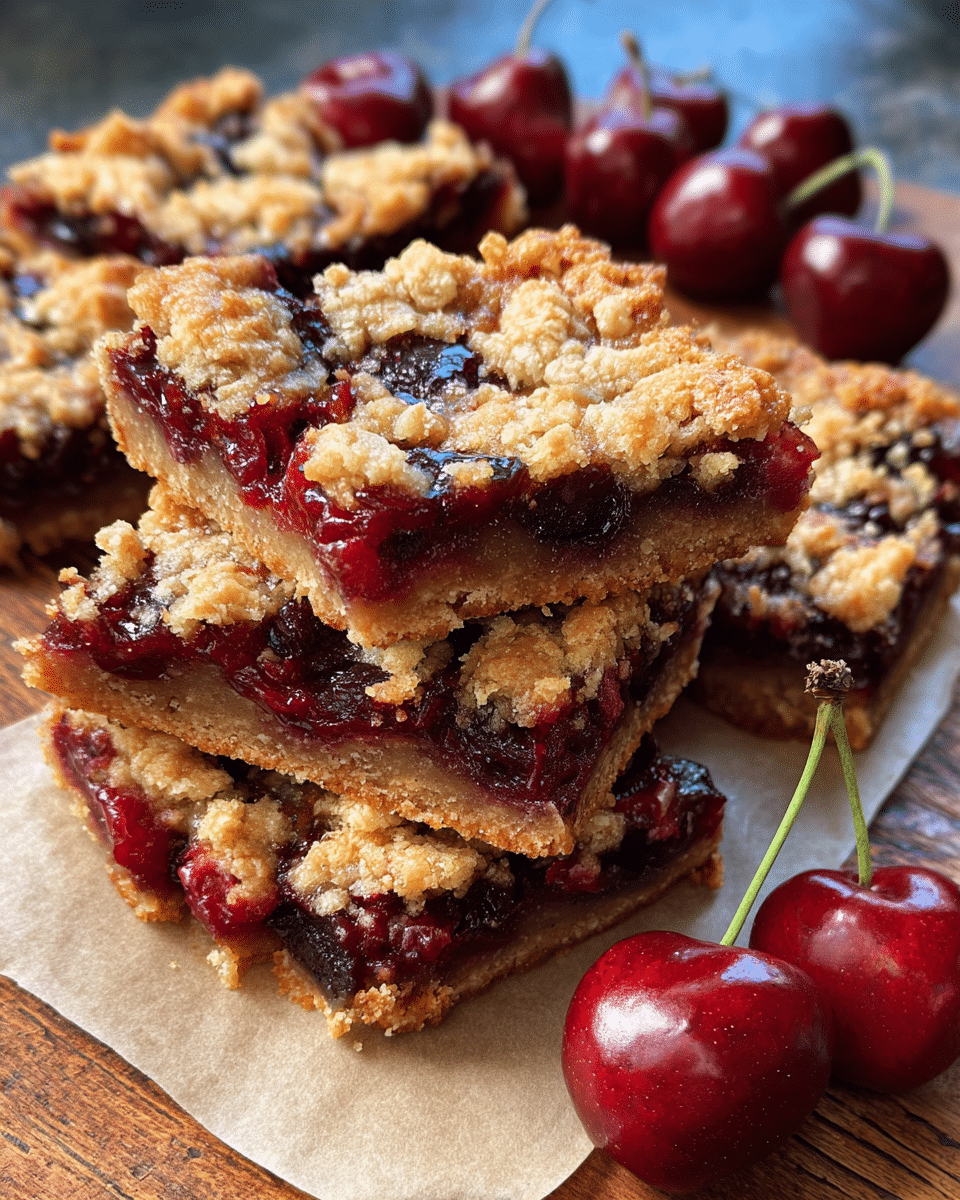
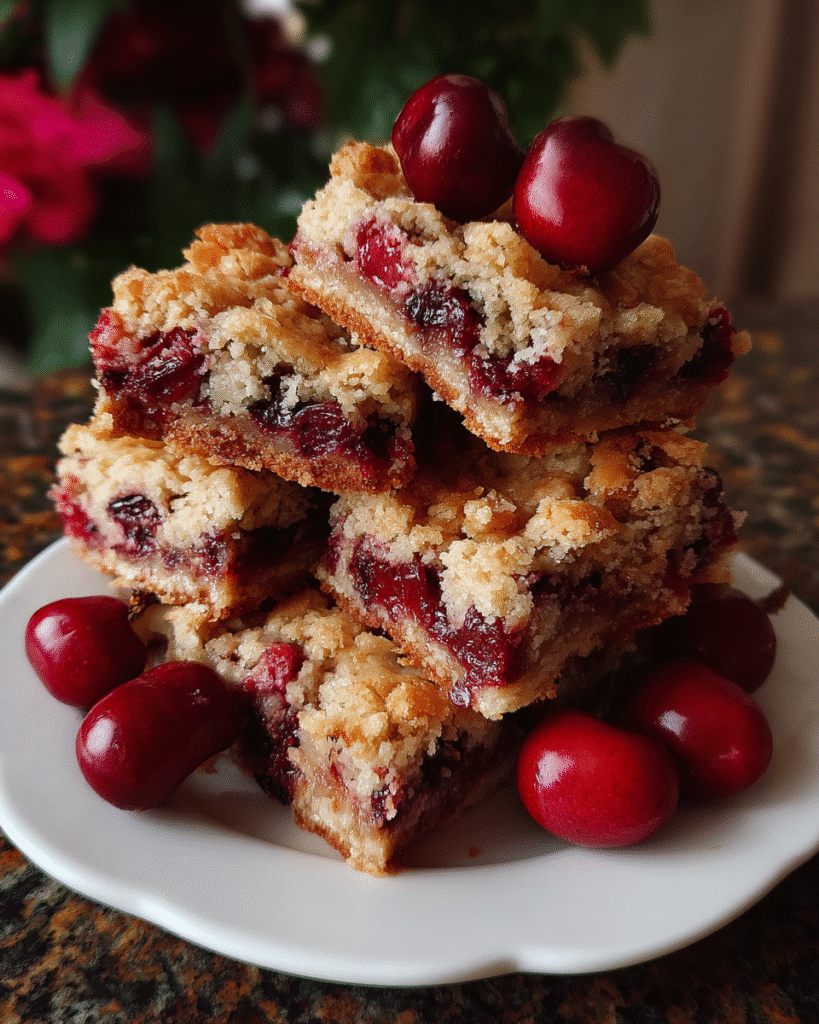
Tired of complicated dessert recipes that leave you frustrated in the kitchen? These Cherry Bars deliver the perfect balance of sweet, tart, and buttery goodness with minimal effort. With their vibrant red filling and golden crumble topping, these bars create a dessert experience that will have everyone asking for your secret recipe.
In this guide, you’ll discover how to select the best cherries, prep your ingredients efficiently, and master the simple baking techniques that guarantee perfect Cherry Bars every time. We’ll also cover storage tips, serving suggestions, and delicious variations to suit any occasion.
Why This Cherry Bars Recipe Works
- Uses readily available ingredients you likely have on hand
- Requires just 15 minutes of active preparation time
- Perfect for potlucks, bake sales, or casual family desserts
- Balances sweet and tart flavors for universal appeal
- Can be made with fresh, frozen, or canned cherries for year-round enjoyment
Choosing the Right Cherries for Your Cherry Bars
Best Cherries for This Recipe
The foundation of exceptional Cherry Bars begins with selecting the right cherries. Tart cherries (Montmorency) offer a wonderful contrast to the sweet crumble, while sweet cherries (Bing) create a more traditional dessert flavor. For the best of both worlds, combine equal parts sweet and tart varieties.
Buying Tips for Cherry Bars Success
When using fresh cherries, look for firm, plump fruits with vibrant color and glossy skin. Avoid cherries with bruises, soft spots, or wrinkled skin. Don’t worry about small stems—they’re easily removed during prep.
Cherry Substitutions for Your Bars
No fresh cherries? No problem! Your Cherry Bars can be made with these alternatives:
- Frozen cherries: Thaw and drain before using
- Canned cherries: Drain well and reduce added sugar in the recipe
- Mixed berries: Strawberries and raspberries make delightful alternatives
Cherry Bars Ingredients & Prep
Cherry Bars Base Essentials
The perfect Cherry Bars start with a buttery, shortbread-like base that provides structure and rich flavor. For optimal results, ensure your butter is properly softened, not melted or too cold.
Cherry Filling for Bars
- 4 cups fresh or frozen cherries (pitted)
- 3/4 cup granulated sugar
- 3 tablespoons cornstarch
- 1 tablespoon lemon juice
- 1/2 teaspoon almond extract
Crumble Topping for Cherry Bars
- 1 1/2 cups all-purpose flour
- 3/4 cup granulated sugar
- 1/2 teaspoon salt
- 3/4 cup cold butter, cubed
- 1/2 cup rolled oats (optional)
- 1/2 cup chopped almonds (optional)
Step-by-Step Cherry Bars Cooking Instructions
Pre-Cooking Cherry Bars Prep
- Preheat your oven to 350°F (175°C) and line a 9×13-inch baking pan with parchment paper.
- If using fresh cherries, wash, pit, and halve them. For frozen cherries, thaw completely and drain excess liquid.
- In a medium saucepan, combine cherries, sugar, cornstarch, and lemon juice.
Looking for another fruity treat to impress your guests? Check out our Cranberry Whipped Feta Dip – it’s the perfect balance of sweet and savory!
Cherry Bars Baking Method
- Cook the cherry mixture over medium heat for 5-7 minutes until thickened, stirring constantly to prevent scorching.
- Remove from heat and stir in almond extract. Let cool slightly.
- Meanwhile, prepare the crumble by mixing flour, sugar, and salt in a large bowl.
- Cut in cold butter using a pastry blender or two forks until mixture resembles coarse crumbs.
- Press 2/3 of the crumble mixture into the prepared pan to form the base.
Cherry Bars Assembly
- Spread the cooled cherry filling evenly over the crust.
- Mix oats and almonds (if using) into the remaining crumble and sprinkle over the filling.
- Bake for 35-40 minutes until the topping is golden brown and the filling is bubbly.
Cooling Cherry Bars
Allow the Cherry Bars to cool completely in the pan on a wire rack before cutting. This crucial step ensures the filling sets properly and bars maintain their shape when served.
Pro Tips for Perfect Cherry Bars
Avoiding Common Cherry Bars Mistakes
- Don’t overmix the crumble – stop when it resembles coarse crumbs for the perfect texture
- Cool completely before cutting to prevent messy, runny bars
- Use parchment paper with overhanging edges for easy removal and cleanup
- If cherry filling seems too thin, add an additional tablespoon of cornstarch
Cherry Bars Tool Recommendations
- Cherry pitter: Save time and reduce mess when using fresh cherries
- Glass baking dish: Provides even heating and allows you to see when the bottom is properly browned
- Offset spatula: Creates a smooth, even layer of filling
Cherry Bars Storage & Freezing
Store your Cherry Bars in an airtight container at room temperature for up to 3 days or refrigerated for up to a week. For longer storage, wrap individual bars in plastic wrap and freeze for up to 3 months. For even more delicious baked treats, check out our collection of dessert recipes on Pinterest where you’ll find endless inspiration for your sweet tooth cravings.
Cherry Bars Flavor Variations
Chocolate Cherry Bars
Transform your Cherry Bars into a decadent treat by adding 1/2 cup of semi-sweet chocolate chips to the crumble topping or drizzling melted chocolate over cooled bars.
Gluten-Free Cherry Bars
Easily adapt this recipe for gluten sensitivities by substituting a 1:1 gluten-free flour blend for the all-purpose flour and using certified gluten-free oats.
Seasonal Cherry Bars Flavors
| Season | Flavor Addition | Amount | Special Notes |
|---|---|---|---|
| Spring | Lemon zest | 1 tablespoon | Adds brightness to filling |
| Summer | Fresh basil | 2 tablespoons, minced | Surprising herbal note |
| Fall | Cinnamon | 1 teaspoon | Warm, cozy flavor |
| Winter | Orange zest & cranberries | 1 tbsp zest, 1 cup cranberries | Festive holiday flavor |

If you love fruity dessert bars, don’t miss our Best Banana Chocolate Chip Bars – they’re another crowd-pleasing treat!
Cherry Bars Serving Suggestions
Elevate your Cherry Bars with these perfect accompaniments:
- A scoop of vanilla bean ice cream
- Fresh whipped cream with a touch of almond extract
- Warm caramel sauce drizzle
- Dusting of powdered sugar just before serving
- Mint sprigs for a pop of color
Looking for a complementary appetizer to serve before dessert? Our Cranberry Whipped Feta Dip is always a hit at gatherings!
Cherry Bars FAQs
Can I use cherry pie filling for these bars?
Yes! Substitute two 21-ounce cans of cherry pie filling for the homemade filling. Skip the cooking step and spread directly onto the crust.
How do I prevent my Cherry Bars from getting soggy?
Ensure your filling is properly thickened before assembly and bake the bottom crust for 10 minutes before adding filling for extra crispness.
Can I make Cherry Bars without almond extract?
Absolutely. Vanilla extract makes an excellent substitute, or try a bit of orange extract for a different flavor profile.
How do I know when my Cherry Bars are done baking?
Look for a golden brown topping and bubbling around the edges of the filling. The center should be set but may still have slight movement.
Cherry Bar Success Awaits!
With these simple steps and pro tips, you’re ready to create Cherry Bars that will impress family and friends alike. The contrast between the buttery crumble and vibrant cherry filling creates a dessert that’s both comforting and special. Whether you’re making them for a bake sale, holiday gathering, or simply to satisfy a sweet craving, these Cherry Bars are guaranteed to become a favorite in your recipe collection.
Try making a batch this weekend and experience the perfect balance of sweet-tart flavor and buttery crunch! Then come back and let us know how they turned out in the comments below.