
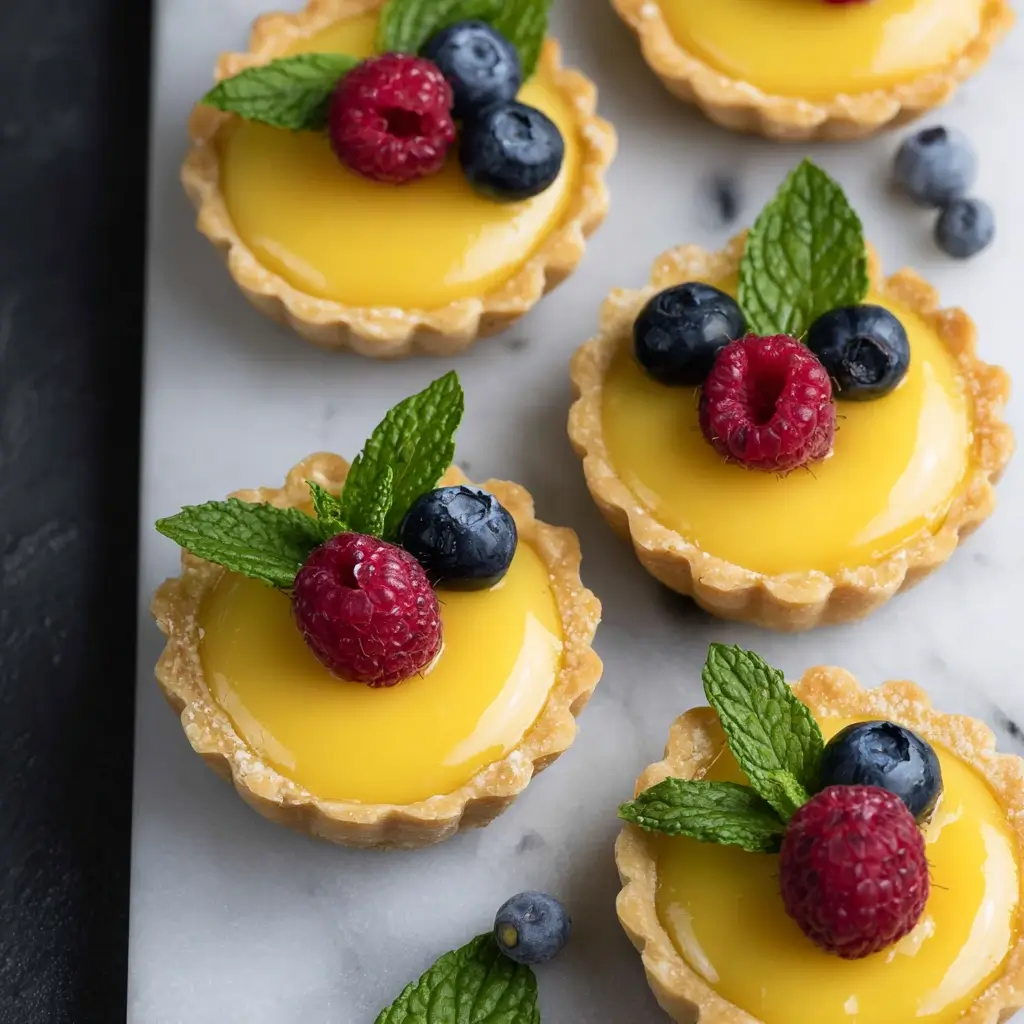
Mini lemon curd tarts—just saying those words makes my heart skip a beat! You know that moment when you bite into something so perfectly balanced between tart and sweet that it literally makes you close your eyes and sigh? That’s exactly what these little golden gems deliver every single time.
Hey there! I’m Emeli, and I’ve been perfecting this recipe for years, ever since I first attempted (and spectacularly failed at) making tart shells during my culinary school days. The dough was tough, the filling was runny, and let’s just say my instructor was… less than impressed. But that disaster sparked something in me—a determination to master the art of the perfect mini tart.
Fast forward to today, and these Mini Lemon Curd Tarts have become my signature dessert. They’re elegant enough for dinner parties, simple enough for weeknight treats, and absolutely irresistible for anyone who loves that bright, sunny burst of lemon flavor. In this post, I’ll share everything I’ve learned about creating buttery, flaky shells, silky lemon curd, and the little tricks that make all the difference.
Why This Mini Lemon Curd Tarts Recipe Works
There’s something magical about the combination of crisp pastry and creamy lemon curd that just works on every level. After making these countless times, I can confidently say this recipe delivers because it focuses on three key elements: simplicity, flavor, and foolproof technique.
• Uses pantry staples you probably already have – No hunting down exotic ingredients or specialty items • Foolproof pastry technique that works every time – Even if you’re intimidated by pastry making • Make-ahead friendly for stress-free entertaining – Shells can be baked days in advance • Perfect portion control – These little beauties satisfy without overwhelming • Versatile base for seasonal variations – Swap lemon curd for other fillings throughout the year
Choosing the Right Ingredients for Mini Lemon Curd Tarts
The beauty of great tarts lies in the quality of ingredients. Since we’re working with just a handful of components, each one needs to shine.
Best Flour for Tart Shells
All-purpose flour is your friend here. I’ve experimented with pastry flour, but honestly, regular AP flour gives you the perfect balance of tenderness and structure. The key is not to overwork it—treat your dough gently, and it will reward you with tender, flaky shells.
Butter Selection Tips
This is where I get a little passionate—please use unsalted butter, and make sure it’s cold! I keep my butter in the freezer for 10 minutes before using it. Cold butter creates those lovely flaky layers as it melts during baking. European-style butter with higher fat content is a game-changer if you can find it.
Lemon Curd Considerations
While homemade lemon curd is absolutely divine (and I highly recommend it), a high-quality store-bought version works perfectly too. If you’re making your own, use fresh lemon juice—bottled just doesn’t have that bright, vibrant flavor we’re after.
Ingredients & Prep for Mini Lemon Curd Tarts
Pastry Prep Essentials
The secret to perfect tart shells starts with proper preparation. I always chill my dough for at least an hour—this relaxes the gluten and makes rolling so much easier. Don’t skip this step, even if you’re in a hurry!
Equipment You’ll Need
You don’t need fancy equipment, but a few key tools make the process smoother:
- Food processor (or pastry cutter)
- Rolling pin
- Mini tart pans (4-inch work perfectly)
- Pie weights or dried beans
- Wire cooling rack
Storage and Make-Ahead Tips
The beauty of these tarts is their make-ahead potential. Baked shells can be stored in an airtight container for up to three days. The lemon curd can be made up to a week in advance and kept refrigerated. Just assemble on the day you plan to serve for the crispest shells.
Step-by-Step Cooking Instructions for Mini Lemon Curd Tarts
Pre-Cooking Prep for Mini Lemon Curd Tarts
Start by gathering all your ingredients and letting them come to room temperature—except the butter, which should stay cold. Measure everything out first; this makes the process so much smoother.
Making the Perfect Pastry for Mini Lemon Curd Tarts
- Combine dry ingredients: Add flour, salt, and cold butter to your food processor
- Pulse to combine: 3-5 quick pulses until the mixture looks like coarse breadcrumbs
- Add liquid: Pour in cold water and vanilla, pulse just until the dough comes together
- Test the texture: The dough should hold together when squeezed but not be sticky
Shaping and Baking Mini Lemon Curd Tarts
- Chill the dough: Wrap in plastic and refrigerate for at least one hour
- Roll carefully: On a floured surface, roll to 1/8-inch thickness
- Cut and shape: Press into tart shells, trim edges, and dock with a fork
- Blind bake: Line with parchment and pie weights, bake at 350°F for 25 minutes
- Finish baking: Remove weights, brush with egg wash, bake 15 more minutes until golden
Doneness Check for Mini Lemon Curd Tarts
Your tart shells are done when they’re golden brown and sound hollow when tapped. They should feel firm and crispy, not soft or doughy.
Final Assembly for Mini Lemon Curd Tarts
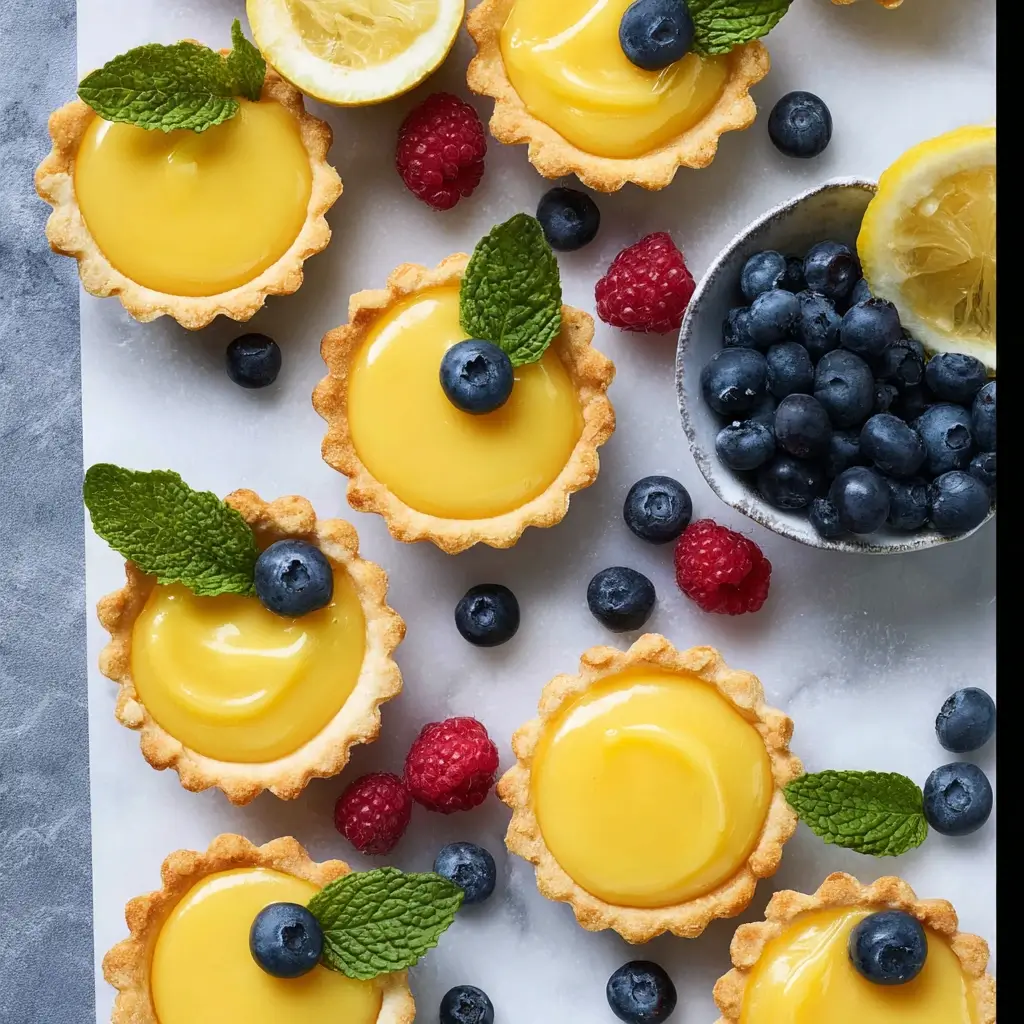
Let shells cool completely before filling—this prevents the curd from melting and making the shells soggy. Fill each shell with about 1 tablespoon of lemon curd and top with fresh berries if desired.
Pro Tips for Perfect Mini Lemon Curd Tarts
Avoiding Common Pastry Pitfalls
The biggest mistake I see home bakers make is overworking the dough. Mix just until it comes together—lumps are actually good! Also, don’t skip the chilling time. I know it’s tempting when you’re excited to bake, but patient doughs make the flakiest crusts.
Tool Recommendations for Mini Lemon Curd Tarts
A digital scale is a game-changer for consistent results. Measuring flour by weight eliminates so much guesswork. Also, invest in a set of mini tart pans—the individual shells are so much more elegant than cutting wedges from a large tart.
Storage & Serving Wisdom
Filled tarts are best enjoyed within 24 hours for optimal texture. If you need to store them longer, keep the components separate and assemble just before serving.
Flavor Variations for Mini Lemon Curd Tarts
Seasonal Fruit Twists
Summer calls for raspberry lemon curd tarts—just swirl some raspberry puree into your lemon curd before filling. Fall brings opportunities for apple butter or pumpkin curd variations.
Dietary Adaptations for Mini Lemon Curd Tarts
For gluten-free versions, substitute with your favorite gluten-free flour blend—just add an extra tablespoon of liquid as GF flours tend to be thirstier. Vegan butter works surprisingly well in the pastry too.
International Inspiration
Try a French twist with lavender lemon curd, or go tropical with passion fruit curd. The possibilities are endless once you master the basic technique.
| Variation | Curd Flavor | Garnish Ideas | Season |
|---|---|---|---|
| Classic | Lemon | Fresh berries, mint | Year-round |
| Tropical | Passion fruit | Toasted coconut | Summer |
| Elegant | Lavender lemon | Candied violets | Spring |
| Autumn | Apple butter | Cinnamon dust | Fall |
| Holiday | Cranberry orange | Sugared cranberries | Winter |
Serving Suggestions for Mini Lemon Curd Tarts
These little beauties are incredibly versatile. Serve them as an elegant finish to dinner parties, arrange on tiered stands for afternoon tea, or pack them for sophisticated picnics. They pair beautifully with champagne or a crisp white wine like Sauvignon Blanc.
For a more casual approach, they’re perfect alongside coffee or tea. I love serving them at brunch buffets—they’re substantial enough to satisfy but not too heavy after a hearty meal.
FAQs About Mini Lemon Curd Tarts
Can I make these ahead of time? Absolutely! Bake the shells up to 3 days ahead and store in airtight containers. Fill them the day you plan to serve for the best texture.
My pastry is too crumbly—what went wrong? Usually this means the dough needs more liquid. Add cold water one tablespoon at a time until it holds together when squeezed.
Can I freeze the tart shells? Yes! Unbaked shells freeze beautifully for up to 3 months. Bake directly from frozen, adding a few extra minutes to the baking time.
What if my lemon curd is too thick? Thin it with a tablespoon of fresh lemon juice or cream. If it’s too thin, a brief stint in the refrigerator will help it set up.
Are these suitable for people with dietary restrictions? The recipe can be adapted for gluten-free diets using appropriate flour substitutions. For dairy-free versions, use vegan butter and ensure your lemon curd is dairy-free too.
Conclusion
There’s something deeply satisfying about creating these perfect little Mini Lemon Curd Tarts from scratch. They represent everything I love about baking—the precision, the creativity, and that moment when you see someone’s face light up after that first bite.
Fire up your oven and give these a try tonight! I promise you, once you master this technique, you’ll find yourself making them for every occasion. There’s just something about homemade tarts that says “I care enough to make something special.”
Join the thousands of home bakers who’ve fallen in love with this recipe—and don’t forget to share your creations with me! I love seeing how you make these tarts your own. Next up, try my [Classic French Macarons Guide] for more elegant dessert inspiration, or explore my [Seasonal Fruit Galettes] for rustic-chic alternatives.
Happy baking! – Emeli
If you enjoyed this recipe, be sure to share it with your friends or save it for later!
I’d love to see your unique twist—feel free to post your photos on Pinterest!