
Cannoli filling disasters are heartbreakingly common—watery ricotta that makes shells soggy, overly sweet mixtures that mask the delicate cheese flavor, or fillings that separate within hours. This authentic cannoli filling recipe delivers the silky, rich texture and perfectly balanced sweetness that makes every bite transport you straight to a Sicilian pastry shop.
Hey there! I’m Emeli, and I’ll never forget my first bite of a real cannoli in Little Italy—the shell shattered perfectly, revealing a cloud of creamy ricotta studded with chocolate chips. That moment sparked a years-long quest to master the art of cannoli filling, from learning the secrets of proper ricotta draining to discovering why orange zest makes all the difference. Through countless batches and plenty of happy taste-testers, I’ve perfected this foolproof recipe that captures that authentic Italian magic.
In this guide, we’ll cover everything you need to know: selecting the right ricotta, proper draining techniques to prevent soggy shells, mixing methods for silky texture, and pro tips for piping and serving. Whether you’re making cannoli for a special celebration or simply treating yourself to a taste of Italy, this recipe will become your go-to.
Why This Cannoli Filling Recipe Works
This cannoli filling succeeds where others fail because it focuses on three critical elements: proper moisture control, balanced sweetness, and authentic flavors that complement rather than overpower the delicate ricotta.
• Uses simple, high-quality ingredients – Fresh ricotta, confectioners’ sugar, and mini chocolate chips create the classic flavor profile • Draining technique prevents soggy shells – Proper straining removes excess whey for the perfect consistency
• Make-ahead friendly for stress-free entertaining – Filling stays fresh for up to 24 hours, perfect for dinner parties
Choosing the Right Ricotta for Cannoli Filling
The ricotta you choose makes or breaks your cannoli filling. Not all ricotta is created equal, and understanding the differences will elevate your results dramatically.
Best Ricotta Types for This Recipe
Whole milk ricotta delivers the creamiest, richest cannoli filling. The higher fat content creates that luxurious mouthfeel authentic Italian cannoli are known for. Part-skim ricotta works in a pinch but produces a slightly grainier texture. Avoid fat-free ricotta entirely—it lacks the richness that makes cannoli special.
Buying Tips for Perfect Cannoli Filling
Look for ricotta with a bright white color and smooth, creamy appearance. Avoid any containers with visible liquid separation or yellowish tinge, which indicates age. Check expiration dates carefully—fresher ricotta has better flavor and texture. If possible, buy from Italian specialty stores or delis that make ricotta in-house for superior quality.
Ricotta Substitutions for Cannoli Filling
While traditional ricotta is ideal, you can substitute mascarpone for an ultra-rich version (reduce sugar slightly), or try farmer’s cheese for a tangier profile. Cream cheese works but creates a denser filling—whip it thoroughly and add a tablespoon of heavy cream to lighten the texture.
Ingredients & Prep for Cannoli Filling
Proper preparation is crucial for achieving that perfect cannoli filling consistency. Every step from draining to mixing affects your final result.
Ricotta Prep Essentials for Cannoli Filling
The most critical step is draining your ricotta properly. Place 2 cups of ricotta in a fine-mesh strainer lined with cheesecloth or coffee filters, then refrigerate for 6-24 hours. This removes excess whey that would otherwise make your cannoli shells soggy. Don’t skip this step—it’s the difference between professional and amateur results.
Essential Cannoli Filling Ingredients
Your ingredient list is beautifully simple: 2 cups whole milk ricotta (drained), 1/2 cup confectioners’ sugar, 3/4 cup mini chocolate chips (divided), 1½ teaspoons pure vanilla extract, and optional 2 teaspoons fresh orange zest. The orange zest adds authentic Sicilian flavor—it’s optional but highly recommended.
Mixing Tools for Smooth Cannoli Filling
Use a large mixing bowl and rubber spatula for gentle folding. Avoid electric mixers which can make the filling grainy. A pastry bag fitted with a 1/2-inch open tip makes filling cannoli shells neat and professional-looking. If you don’t have a pastry bag, a zip-lock bag with the corner snipped works perfectly.

Step-by-Step Cannoli Filling Instructions
Creating perfect cannoli filling is all about gentle handling and proper timing. Rush the process, and you’ll end up with a grainy or separated mixture.
1. Pre-Prep for Cannoli Filling
Ensure your ricotta has drained for at least 6 hours—overnight is even better. Remove from refrigerator 10 minutes before mixing to take the chill off. Measure out your confectioners’ sugar and have your chocolate chips divided: 1/4 cup for mixing into the filling, and the remaining 1/2 cup for coating the filled cannoli ends.
2. Mixing Method for Smooth Cannoli Filling
In your large bowl, combine the drained ricotta and confectioners’ sugar first. Fold gently with a rubber spatula until smooth—about 1 minute. Add vanilla extract and orange zest (if using), folding until evenly distributed. Finally, fold in 1/4 cup of mini chocolate chips with just a few gentle strokes to avoid breaking them.
3. Filling Transfer for Cannoli Filling
Using your spatula, carefully transfer the mixture to your pastry bag. Twist the top closed and gently squeeze toward the tip to remove air bubbles. If using immediately, keep at room temperature. If making ahead, refrigerate until ready to use—the filling stays fresh for up to 24 hours.
4. Shell Filling Technique for Perfect Cannoli Filling
Pipe filling into one end of each cannoli shell, filling halfway. Then pipe into the other end until full but not overflowing. Work quickly once shells are filled—they’ll start to soften after 30 minutes. Dip each end into remaining chocolate chips and dust lightly with confectioners’ sugar just before serving.
Pro Tips for Perfect Cannoli Filling
These professional secrets will take your cannoli filling from good to extraordinary. Small details make all the difference in achieving that authentic Italian pastry shop quality.
Avoiding Common Cannoli Filling Mistakes
Never fill cannoli shells more than 30 minutes before serving—they’ll become soggy. Don’t overmix the filling, which creates a grainy texture. Avoid regular-sized chocolate chips, which are too large and can crack delicate shells. Most importantly, never skip the ricotta draining step, even if you’re short on time—at minimum, drain for 2 hours.
Essential Tools for Cannoli Filling Success
Invest in a fine-mesh strainer for proper ricotta draining. A good pastry bag with metal tips creates professional-looking results. Keep extra confectioners’ sugar on hand for last-minute dusting. A small offset spatula helps clean up any filling that squeezes out during assembly.
Storage & Make-Ahead Tips for Cannoli Filling
The filling can be made up to 24 hours in advance and refrigerated. Never freeze ricotta-based fillings—they separate when thawed. Store filled cannoli shells separately from unfilled ones. If you must transport filled cannoli, place them in a single layer in an airtight container and serve within 2 hours.
Flavor Variations for Cannoli Filling
While classic cannoli filling is perfection, these variations let you customize the recipe for different tastes and occasions. Each maintains the authentic texture while adding exciting new flavors.
Citrus Twist Cannoli Filling
Beyond orange zest, try lemon or lime zest for brighter flavors. Add 1 tablespoon of fresh lemon juice for extra tang—but increase confectioners’ sugar by 2 tablespoons to balance the acidity. Candied citrus peel, finely chopped, adds delightful texture and intense citrus flavor.
Chocolate Lover’s Cannoli Filling
Replace 1/4 cup confectioners’ sugar with unsweetened cocoa powder for chocolate ricotta filling. Add chopped dark chocolate instead of mini chips for more sophisticated flavor. A teaspoon of espresso powder deepens the chocolate notes without making it coffee-flavored.
Holiday Spiced Cannoli Filling
During autumn and winter, add 1/2 teaspoon cinnamon and 1/4 teaspoon nutmeg to your filling. Chopped toasted nuts like pistachios or hazelnuts replace chocolate chips beautifully. For Christmas, add chopped candied fruits and a splash of rum extract.
| Variation | Key Ingredients | Flavor Profile | Best Season |
|---|---|---|---|
| Classic | Orange zest, vanilla, mini chocolate chips | Traditional, balanced sweetness | Year-round |
| Chocolate | Cocoa powder, dark chocolate chunks | Rich, decadent | Fall/Winter |
| Citrus | Lemon zest, candied peel | Bright, refreshing | Spring/Summer |
| Spiced | Cinnamon, nutmeg, toasted nuts | Warm, aromatic | Fall/Winter |
| Pistachio | Ground pistachios, almond extract | Nutty, elegant | Spring |
Serving Suggestions for Cannoli Filling
Cannoli are traditionally served as dessert, but thoughtful pairings can elevate this Italian classic into a memorable dining experience.
Perfect cannoli filling shines alongside complementary flavors and textures. Serve with espresso or cappuccino for an authentic Italian experience. Fresh berries provide lovely color contrast and cut through the rich ricotta. A drizzle of honey or chocolate sauce on the plate adds restaurant-style presentation. For special occasions, pair with a glass of dessert wine like Moscato or Limoncello for a true Sicilian celebration.
FAQs About Cannoli Filling
Understanding common cannoli filling questions helps ensure success every time. These are the most frequent concerns home cooks have when making this recipe.
Can I make cannoli filling without draining the ricotta? While possible, undrained ricotta creates soggy shells and watery filling. Even a 2-hour drain makes a significant difference in texture and stability.
How long does cannoli filling stay fresh? Unfilled, the cannoli filling keeps 24 hours refrigerated. Once shells are filled, serve within 30 minutes to prevent sogginess. Never freeze ricotta-based fillings as they separate when thawed.
Can I use regular chocolate chips instead of mini chips in cannoli filling? Mini chips work best because they don’t crack delicate shells. If using regular chips, chop them smaller, or substitute with finely chopped chocolate for better distribution.
Is this cannoli filling safe during pregnancy? Yes, this recipe uses pasteurized ricotta and no raw eggs, making it pregnancy-safe. Always check that your ricotta is pasteurized—most commercial brands are, but verify if buying from small producers.
Conclusion
Perfect cannoli filling transforms simple ingredients into an unforgettable Italian dessert. With proper ricotta draining, gentle mixing, and quality ingredients, you’ll create cannoli that rival the best Italian bakeries. The key is respecting the traditional techniques while making them accessible for your home kitchen.
Ready to bring a taste of Sicily to your kitchen? Grab your finest ricotta and start draining it tonight—tomorrow you’ll be piping perfect cannoli filling like a true Italian pastry chef! Share your cannoli creations with #FoodFansyCannoli and join thousands of home bakers who’ve fallen in love with this authentic recipe.
Craving more Italian dessert magic? Try our [Tiramisu Secrets Guide] for another restaurant-quality dessert, or explore our [Italian Cookie Collection] for a complete dessert spread that’ll impress any dinner party!
If you enjoyed this recipe, be sure to share it with your friends or save it for later!
I’d love to see your unique twist—feel free to post your photos on Pinterest!
Print
Cannoli Filling Recipe: 5 Secret Techniques for Ultimate Creamy Perfection
- Total Time: 1hr 30mins
Description
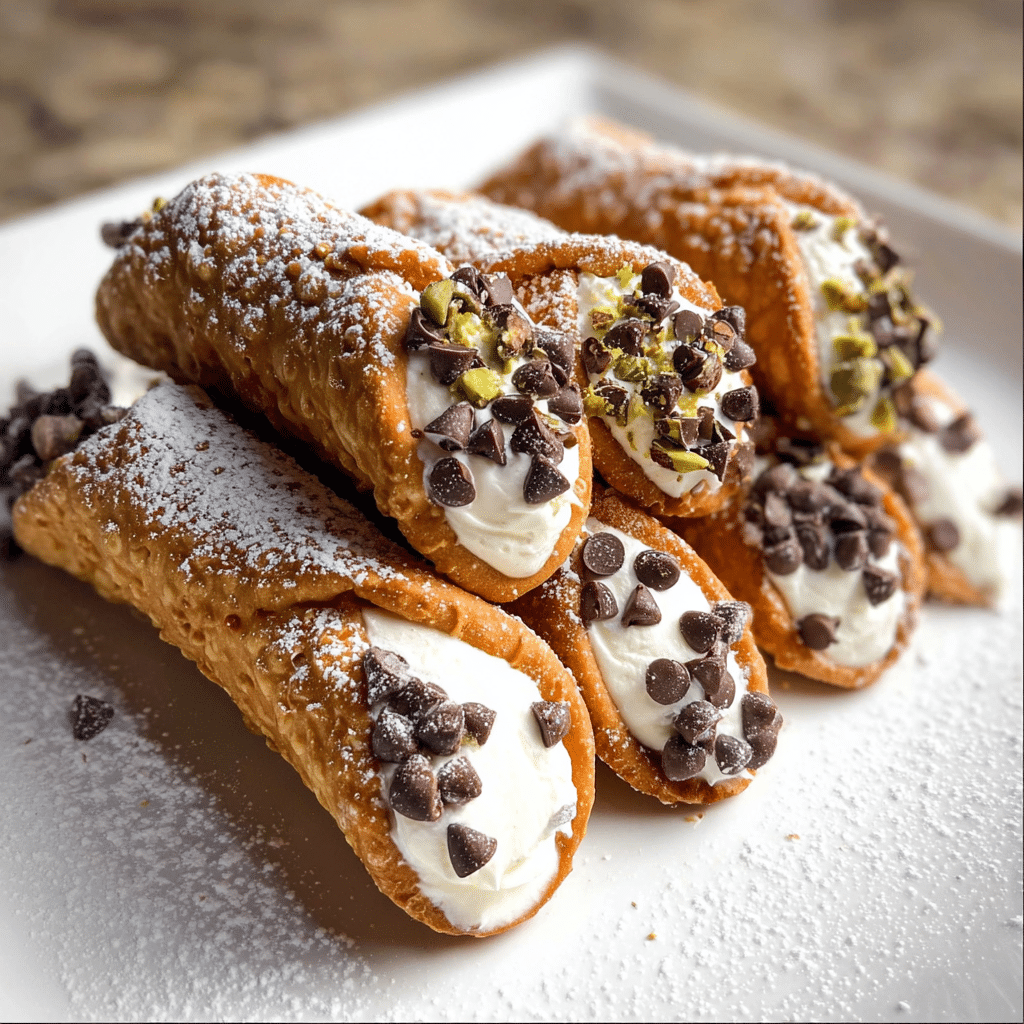
Learn how to make cannoli with this easy and delicious recipe. This classic Italian dessert features crispy cannoli shells + creamy cannoli filling + crunchy mini chocolate chips. Perfect for Christmas or special occasions. I skip frying the shells and fussing with a cannoli mold and use store-bought cannoli shells for ease.
Ingredients
8 cannoli shells, homemade or store bought will work
2 cups ricotta cheese
1/2 cup confectioners’ sugar, plus extra for dusting
3/4 cup mini chocolate chips, divided
1 and 1/2 teaspoons pure vanilla extract
Optional:
2 teaspoons fresh orange zest
Instructions
Place the ricotta cheese into a fine mesh strainer and place it in the fridge to drain for at least 6 hours and up to 24 hours.
When you’re ready to make the filling:
In a large bowl combine the drained ricotta cheese, confectioners’ sugar, 1/4 cup of the mini chocolate chips, vanilla extract, and orange zest (if using); mix well. Using a spatula, carefully scrape the mixture into pastry bag fitted with a 1/2 inch open tip. Use at once, or refrigerate until needed; filling can be made up to 24 hours in advance.
When ready to serve, pipe the filling into one end of cannoli shell, filling shell halfway, then pipe into other end. If you don’t have a piping bag, you may spoon the filling into the shells. Repeat with remaining shells.
Place remaining mini chocolate chips on a small plate. Dip each end of the cannoli into the chocolate chips, then lightly dust with confectioner’s sugar. Serve at once.
Notes
The filling may be made and stored in the fridge for up to 24 hours. Once the cannoli shells have been filling, serve them right away. Cannolis are best eaten the day they are made.
- Prep Time: 15minutes
- Cook Time: 1hour15mins
- Category: Desssert
Nutrition
- Serving Size: 8 cannolis
Keywords: Cannoli Filling